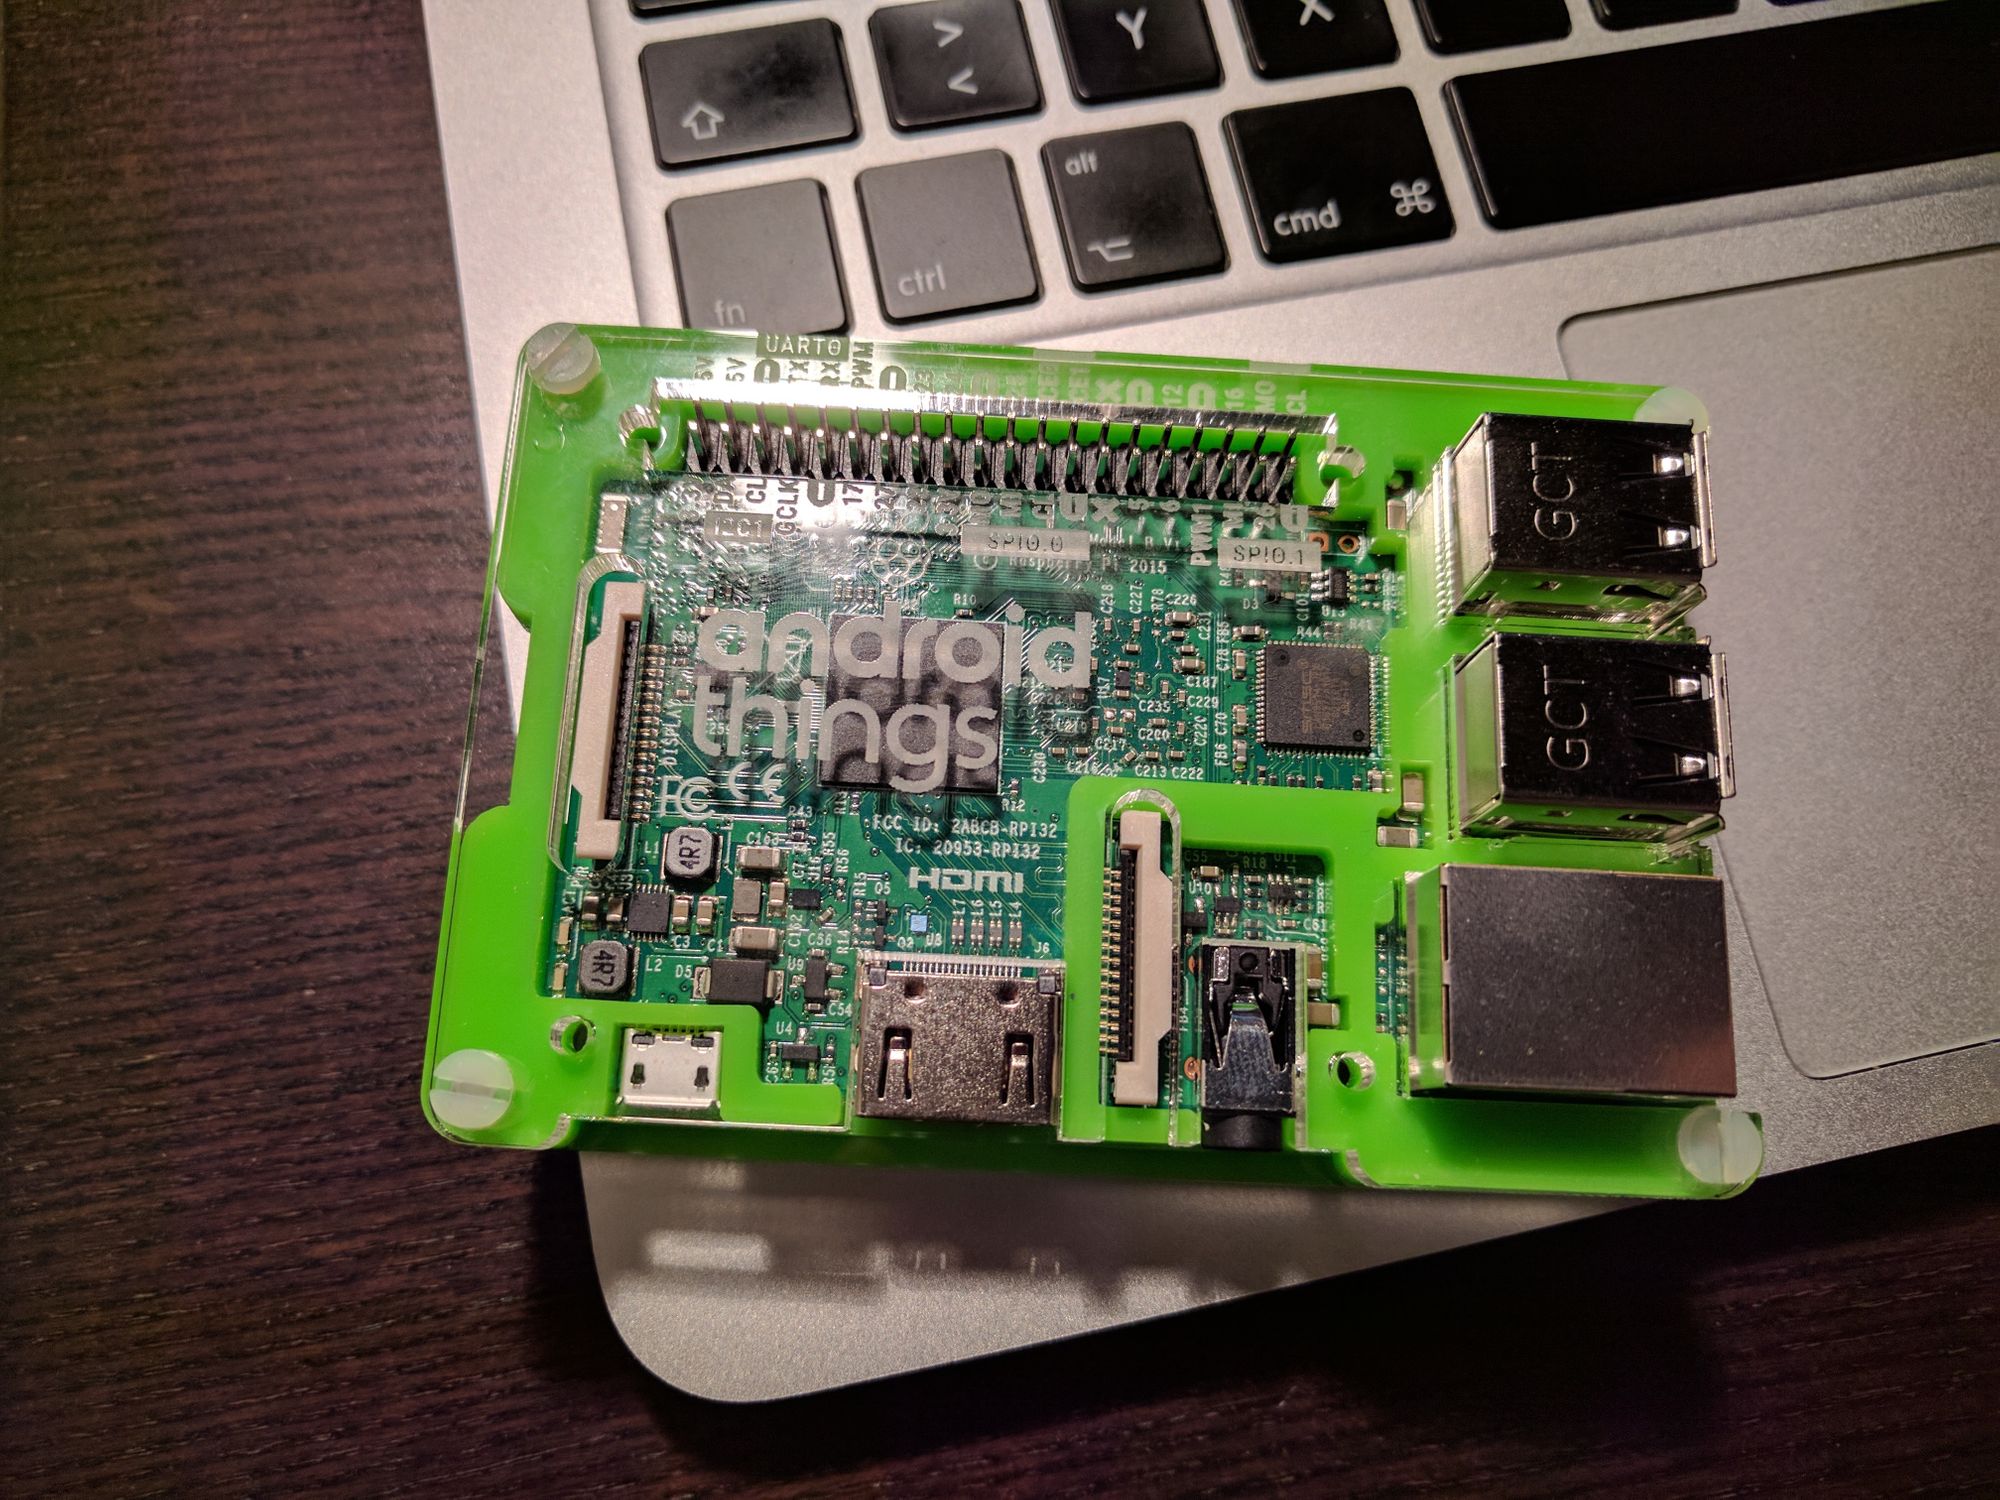
Google’s IoT platform has recently been updated with a couple of exciting new tools: Android Things and Weave. Android Things allows developers to use familiar Android dev tools, such as Android Studio, Android SDK and Google Play Services, to build hardware solutions for the IoT. Android Things can be installed on popular boards, such as Raspberry Pi 3 and Intel Edison, and comes with a Developer Preview of the SDK.
I’m totally new to the world of IoT, but I was quite intrigued by the announcement, so I decided to order myself one of the supported boards and tinker with the SDK. My choice fell on the Raspberry Pi 3 with the Rainbow HAT set of peripherals: it’s officially supported by the Android Things project, and most of the samples inside the official GitHub repo play really well with this setup. Rainbow HAT is a fun little piece of hardware to program, here’s just a subset of niceties it includes:
- a set of multicolor LEDs
- an alphanumeric display
- three capacitive touch buttons
- a piezo buzzer
- temperature and pressure sensors and more
The device itself comes with a Python library and a number of samples, available on GitHub. I decided to grab the demo.py sample and translate it into an Android Things project. This exercise helped me understand how the SDK works and play with various device drivers. This article will guide you through the process of setting up an Android Things project and adding code to interact with various peripherals. But first, let’s see the demo!
Ahoy Rainbow HAT!
Here’s what the Rainbow HAT demo looks like:
We’re doing a ton of fun stuff here:
- playing a melody using the piezo buzzer
- blinking RGB LEDs along with the melody
- changing the text on the display in response to button touch events
That looks like a lot, so let’s break this functionality down into pieces and see how the interaction with different hardware components works.
Adding the libraries
First of all, let’s add all necessary libraries to our app/build.gradle file:
provided 'com.google.android.things:androidthings:0.1-devpreview'

compile 'com.google.android.things.contrib:driver-button:0.1'
compile 'com.google.android.things.contrib:driver-ht16k33:0.1'
compile 'com.google.android.things.contrib:driver-pwmspeaker:0.1'
We’ll need the main Android Things SDK dependency, and a number of driver modules for hardware
components that we’ll be using. Notice that we’re declaring the SDK dependency as provided
instead of the usual compile: this means that the SDK is a compile-only dependency and will not be
packaged along with the app, at runtime our code will run against the version of the SDK that’s
present on the device.
Creating the RainbowHATDemoActivity
Cool thing about the Android Things SDK is that IoT apps follow the same structure as the usual
Android apps. This means that with some modifications you can make existing apps run on embedded
hardware, which sounds pretty cool. This also means that the entry point to our IoT app will be a
good ol’ Activity class, so let’s create one (code examples are presented in Kotlin, which I hope
you’re familiar with):
class RainbowHATDemoActivity : Activity() {

    override fun onCreate(savedInstanceState: Bundle?) {
        super.onCreate(savedInstanceState)

        // TODO
    }
}
In AndroidManifest.xml, we’ll first need to add a <uses-library> declaration for the Android
Things SDK:
<application ...>
    <uses-library android:name="com.google.android.things"/>
    ...
</application>
And then there’s a specific <intent-filter> that we have to add to the RainbowHATDemoActivity
element, which will instruct the system to start our Activity on device boot:
<activity android:name=".RainbowHATDemoActivity">
    <!-- Launch activity automatically on boot -->
    <intent-filter>
        <action android:name="android.intent.action.MAIN"/>
        <category android:name="android.intent.category.IOT_LAUNCHER"/>
        <category android:name="android.intent.category.DEFAULT"/>
    </intent-filter>
</activity>
Now that the Activity is configured, let’s create a set of helper classes that will serve as wrappers for the device driver components that we’ll be using.
Buttons
Buttons class helps register drivers for Rainbow HAT’s touch buttons. Here’s the implementation:
class Buttons(private val buttonDrivers: List<ButtonInputDriver> = listOf(
        registerButtonDriver(Buttons.BUTTON_A_GPIO_PIN, KeyEvent.KEYCODE_A),
        registerButtonDriver(Buttons.BUTTON_B_GPIO_PIN, KeyEvent.KEYCODE_B),
        registerButtonDriver(Buttons.BUTTON_C_GPIO_PIN, KeyEvent.KEYCODE_C))) : Closeable {

    companion object {

        val BUTTON_A_GPIO_PIN = "BCM21"
        val BUTTON_B_GPIO_PIN = "BCM20"
        val BUTTON_C_GPIO_PIN = "BCM16"

        private fun registerButtonDriver(pin: String, keycode: Int): ButtonInputDriver {
            val driver = ButtonInputDriver(pin, Button.LogicState.PRESSED_WHEN_LOW, keycode)
            driver.register()
            return driver
        }
    }

    override fun close() {
        buttonDrivers.forEach(ButtonInputDriver::close)
    }
}
We’re using the ButtonInputDriver class to map each button, represented by its GPIO pin
name, to a keycode value from the KeyEvent class, and register the driver with the system. Names
for all Rainbow HAT pins can be found on the official Pinout page. We’re also introducing
the close() method, since it’s important to unregister the drivers when the app doesn’t need them
anymore. After we instantiate Buttons inside the RainbowHATDemoActivity, we’ll be able to listen
to key presses inside the onKeyUp() method:
override fun onKeyUp(keyCode: Int, event: KeyEvent?) = when (keyCode) {
    // TODO
}
Display
Next hardware component that we’ll connect is the alphanumeric display:
class Display(private val display: AlphanumericDisplay = AlphanumericDisplay(Display.DISPLAY_I2C_BUS))
    : Closeable {

    companion object {
        val DISPLAY_I2C_BUS = "I2C1"
    }

    init {
        display.setEnabled(true)
        display.clear()
    }

    fun displayMessage(message: String) {
        display.display(message)
    }

    override fun close() {
        display.clear()
        display.setEnabled(false)
        display.close()
    }
}
We’re using the AlphanumericDisplay class, which has very straightforward API and can easily
display a String. Still, it’s important to not forget to clear() the display after we’re done,
otherwise the text will remain displayed even after our app gets closed.
At this point, we can already publish messages to the display and react to button clicks, so let’s
put this functionality to use. First let’s define some fancy messages inside
RainbowHATDemoActivity:
companion object {

    val MESSAGES = mapOf(
            KeyEvent.KEYCODE_A to "AHOY",
            KeyEvent.KEYCODE_B to "YARR",
            KeyEvent.KEYCODE_C to "GROG")

    val DEFAULT_MESSAGE = "WJDK"
}
In onCreate() we’ll instantiate Buttons and Display and will render the default message:
override fun onCreate(savedInstanceState: Bundle?) {
    super.onCreate(savedInstanceState)

    buttons = Buttons()
    display = Display()

    display.displayMessage(DEFAULT_MESSAGE)
}
And back to the onKeyUp() callback, where we can change the text on the display based on the
keyCode value:
override fun onKeyUp(keyCode: Int, event: KeyEvent?) = when (keyCode) {
    in MESSAGES.keys -> {
        display.displayMessage(MESSAGES[keyCode]!!)
        true
    }
    else -> super.onKeyUp(keyCode, event)
}
That’s pretty cool already! But let’s continue with the second part of the demo and connect the LEDs and the buzzer.
Leds
Leds will hide away all the details of interacting with Rainbow HAT’s LEDs, here’s how it looks:
class Leds(peripheralManagerService: PeripheralManagerService = PeripheralManagerService())
    : Closeable {

    companion object {

        val LED_RED_GPIO_PIN = "BCM6"
        val LED_GREEN_GPIO_PIN = "BCM19"
        val LED_BLUE_GPIO_PIN = "BCM26"

        val LED_RED = 0
        val LED_GREEN = 1
        val LED_BLUE = 2
        val LEDS = arrayOf(LED_RED, LED_GREEN, LED_BLUE)
    }

    private val leds: List<Gpio>

    init {
        leds = listOf(
                openGpio(peripheralManagerService, LED_RED_GPIO_PIN),
                openGpio(peripheralManagerService, LED_GREEN_GPIO_PIN),
                openGpio(peripheralManagerService, LED_BLUE_GPIO_PIN))
    }

    private fun openGpio(service: PeripheralManagerService, pin: String): Gpio {
        val led = service.openGpio(pin)
        led.setDirection(Gpio.DIRECTION_OUT_INITIALLY_LOW)
        return led
    }

    fun setLed(led: Int, on: Boolean) = with(leds[led]) {
        value = on
    }

    fun toggleLed(led: Int) = with(leds[led]) {
        value = !value
    }

    override fun close() {
        leds.forEach(Gpio::close)
    }
}
Each LED is represented by an instance of Gpio, and we use PeripheralManagerService to obtain
instances using GPIO pin names of each of the LEDs. Once we’ve got those, we set their initial state
to Gpio.DIRECTION_OUT_INITIALLY_LOW. Then, turning an LED on or off is just a matter of setting
its value to either true or false. Same as with the other devices, it’s important to
disconnect them after they’re not needed anymore, therefore we introduce the close() method which
closes each of the LEDs.
We’re almost there, let’s now connect the last piece of hardware - the buzzer.
Buzzer
Here’s the implementation of Buzzer:
class Buzzer(private val speaker: Speaker = Speaker(Buzzer.SPEAKER_PWM_PIN),
             private val stopHandler: Handler = Handler()) : Closeable {

    companion object {
        val SPEAKER_PWM_PIN = "PWM1"
    }

    private var stopRunnable: Runnable? = null

    init {
        stopRunnable = Runnable { stop() }
    }

    fun play(frequency: Double) {
        speaker.play(frequency)
    }

    fun play(frequency: Double, duration: Double) {
        speaker.play(frequency)
        stopHandler.postDelayed(stopRunnable, duration.toLong())
    }

    fun stop() {
        speaker.stop()
    }

    override fun close() {
        stopHandler.removeCallbacks(stopRunnable)
        speaker.stop()
        speaker.close()
    }
}
We rely on the Speaker class to implement the functionality. Speaker has a play() method,
which takes a frequency value and plays a sound at that frequency. The sound will play until
stop() method is called. Since we’d like to have pauses between sounds in our demo, we’ll
introduce another version of play() that takes a duration parameter, and uses a Handler to
post a stopRunnable. close() contains code for stopping and closing the speaker instance.
Putting everything together
Now that all our drivers are ready, we can play a melody at startup and blink the LEDs. First, let’s
instantiate remaining classes in onCreate():
override fun onCreate(savedInstanceState: Bundle?) {
    ...
    buzzer = Buzzer()
    leds = Leds()

    ...
    playMelodyWithLeds()
}
And here’s the code for the playback functionality:
private fun playMelodyWithLeds() {
    playbackRunnable = Runnable {
        buzzer.play(NOTES[noteIndex].toDouble(), TIMES[timeIndex] * 0.8)
        leds.setLed(Leds.LEDS[ledIndex], on = true)
        leds.setLed(Leds.LEDS[prevIndex(ledIndex, Leds.LEDS.size)], on = false)
        if (noteIndex == NOTES.size - 1) {
            leds.setLed(Leds.LEDS[ledIndex], on = false)
            buzzer.close()
            display.displayMessage(DEFAULT_MESSAGE)
        } else {
            playHandler.postDelayed(playbackRunnable, TIMES[timeIndex].toLong())
            timeIndex++
            noteIndex++
            ledIndex = nextIndex(ledIndex, Leds.LEDS.size)
        }
    }
    playHandler.post(playbackRunnable)
}
NOTES and TIMES contain sound frequencies and playback durations respectively. We’re using a
Handler and looping until all the notes are played. Each iteration will also turn the LEDs on and
off, one after the other. Job well done!
Last but not least, we have to close all resources we’ve been using when our Activity gets
destroyed:
override fun onDestroy() {
    playHandler.removeCallbacks(playbackRunnable)
    arrayOf(leds, buttons, buzzer, display).forEach(Closeable::close)
    super.onDestroy()
}
This code will make sure we’re leaving the hardware in the same state as it was before our app was started.
The complete source code for this project is available on GitHub.
Conclusion
This article described the process of setting up an Android Things project and programming various hardware components to perform a number of different tasks. What’s great is that we achieved it by using familiar Android development tools, thanks to the Android Things SDK and the driver libraries.
Playing with Rainbow HAT is super fun, and its wide range of peripherals provides a great opportunity for learning about different Android Things driver libraries. If you’re thinking about ordering hardware to play with Android Things during the holidays - I can highly recommend the Raspberry Pi 3 + Rainbow HAT setup. Enjoy Android Things, and Happy New Year!