I’ve recently stumbled upon an interesting article called Aspect Oriented Programming in Android by Fernando Cejas. I heard about the aspect-oriented programming (AOP) with AspectJ a long time ago and it’s always seemed pretty exotic to me, but after I’ve reviewed the concepts and the advantages of AOP and learned that it magically works (almost) out of the box on Android, I decided to give it a try. So what’s it all about?
Aspect-oriented programming
One of the SOLID principles is the Single responsibility principle (SRP), which states that a single class should be fully responsible for a single part of the functionality of the application. This is a powerful principle that leads to modularized, testable code, and greatly promotes code reuse. However, it’s not always that straightforward in real-world software: time and again we stumble across various secondary features, or cross-cutting concerns - pieces of functionality scattered across different classes, which are hard to modularize. Examples include:
- Logging. Imagine you want to profile your application and you’re thinking about printing log statements with timestamps every time a method in your application is called. Adding lines of code to each and every method sounds like a lot of work. And how do you turn it off after you’re done profiling?
- Connectivity checking. You’ve got lots of network calls inside a REST API client. Now you decided to follow best practices and check for network connectivity before making requests. Again, you’ll need to add checks before each request, which might be overwhelming depending on the number of requests.
- Analytics. You have a list of events, such as screen views or button clicks, which must be tracked via Google Analytics. Although the implementation is pretty straightforward, you’ll still have to run through most of your Fragments and Activities and introduce new code. And don’t forget to update your unit tests!
It seems that these problems have something in common, namely, they don’t represent core functionality, but they still add to the functionality. Following another SOLID principle, the Open/closed principle, we’d like to limit the modifications we introduce into our classes, and extend their behavior instead. Also we’d like to modularize the code that we add as much as possible, to be able to unit-test it separately and only write functional tests to verify the behavior. Let’s see how we can achieve these goals with AOP and AspectJ!
Sample application
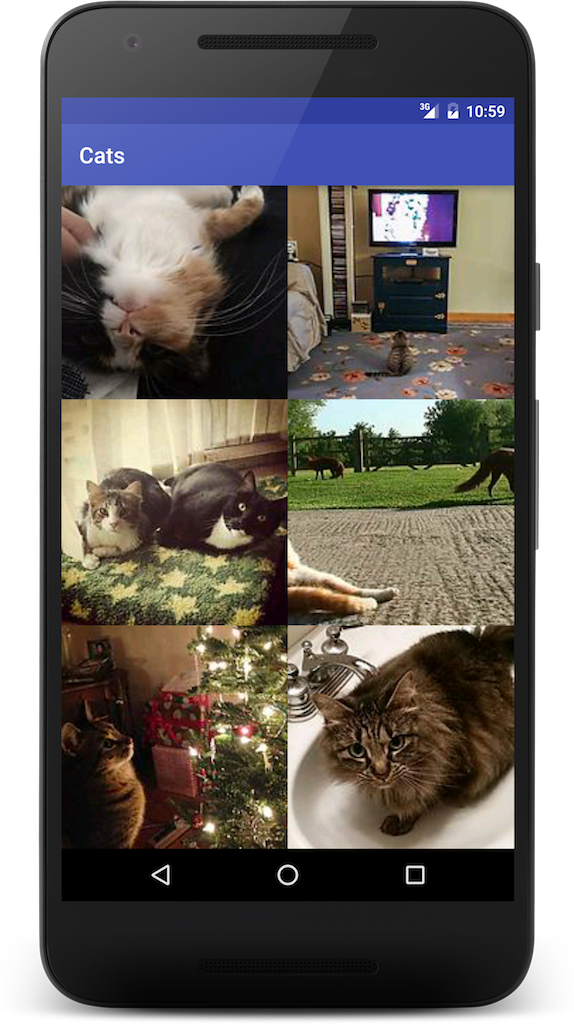
For demonstration purposes, we’ll be using a simple app called Cats. With Cats you can load amazing cat photos from Imgur:
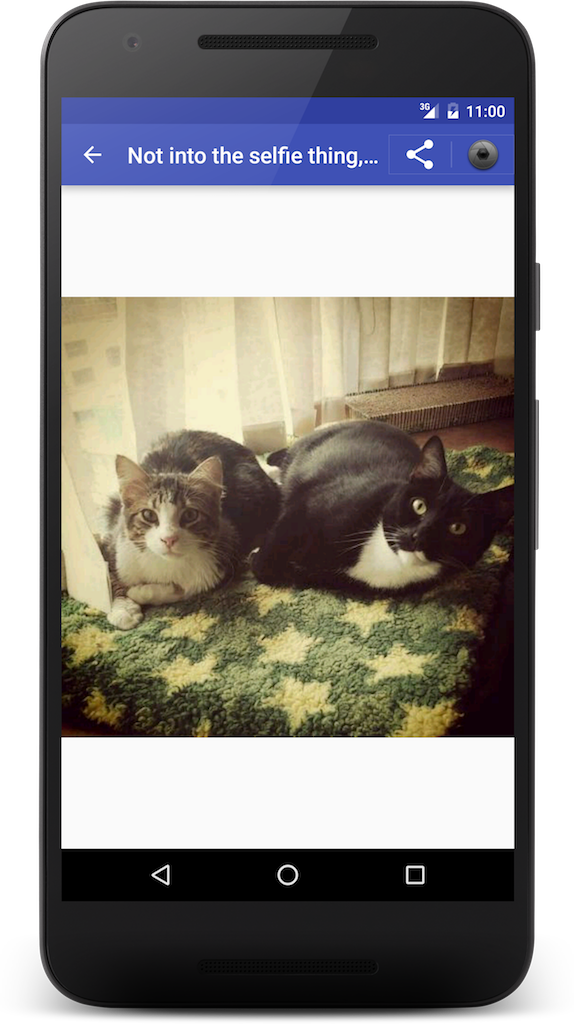
and share them with your friends:
Isn’t it the most amazing app ever? :) But behind all this cat awesomeness lays some serious technology, which we’re now going to explore!
Source code
If you’d like to to download the source code and run it on your machine, you can find the project on GitHub. You’ll need to fill in a couple of blanks yourself though:
- The application uses the Imgur API, which is free for non-commercial use, but requires an API key. Please register to obtain one and drop it into the app’s resources so that the code picks it up.
- You’ll have to register the app with Google Analytics. Follow the instructions to obtain a JSON configuration file and place it inside the project. Now everything should be set!
Google Analytics: the straightforward implementation
In the Cats app, we’d like to send tracking events every time
- a cat image is displayed inside the
CatViewerActivity - a cat image is shared via the Share action button
To keep analytics tags together, let’s gather them in a separate class:
public final class AnalyticsTags {

    public static final String CATEGORY_ACTION = "Action";

    public static final String ACTION_SHARE = "Share";

    public static final String SCREEN_CAT_VIEWER_ACTIVITY = "CatViewerActivity";

    private AnalyticsTags() {
        // no instances
    }
}
Now let’s go ahead and add the tracking code into the CatViewerActivity. The snippet below should
add the screen view tracking:
@Inject Tracker analyticsTracker;

@Override
protected void onCreate(@Nullable Bundle savedInstanceState) {
    super.onCreate(savedInstanceState);
    // other code here

    analyticsTracker.setScreenName(AnalyticsTags.SCREEN_CAT_VIEWER_ACTIVITY);
    analyticsTracker.send(
            new HitBuilders.ScreenViewBuilder()
                    .build()
    );
}
and the following snippet should add the Share action button click tracking:
@Override
public boolean onCreateOptionsMenu(Menu menu) {
    getMenuInflater().inflate(R.menu.menu_cat_viewer, menu);
    initShareActionProvider(menu);
    return true;
}

private void initShareActionProvider(Menu menu) {
    MenuItem shareMenuItem = menu.findItem(R.id.action_share);
    ShareActionProvider actionProvider = (ShareActionProvider) MenuItemCompat.getActionProvider(shareMenuItem);

    // setting up the share Intent

    actionProvider.setOnShareTargetSelectedListener((source, intent) -> {
            analyticsTracker.send(
                    new HitBuilders.EventBuilder()
                        .setCategory(AnalyticsTags.CATEGORY_ACTION)
                        .setAction(AnalyticsTags.ACTION_SHARE)
                        .build()
            );
            return true;
        });
}
and looks like that’s all we need. But the code looks a bit verbose. For the sake of simplicity we’re only tracking a couple of events in our app, but the number will definitely be bigger in a real-world application, and there will be much more clutter as a result. So let’s try to improve the approach.
Let’s introduce a class called AnalyticsTrackerHelper, which will encapsulate the code we were
earlier adding directly into the CatViewerActivity. In this way we’ll make it easier to reuse
tracking logic, and we’ll not depend anymore on a specific implementation, which is the Tracker
class from Google Analytics.
public class AnalyticsTrackerHelper {

    private final Tracker analyticsTracker;

    @Inject
    public AnalyticsTrackerHelper(Tracker analyticsTracker) {
        this.analyticsTracker = analyticsTracker;
    }

    public void trackScreenView(String screenName) {
        analyticsTracker.setScreenName(screenName);
        analyticsTracker.send(
                new HitBuilders.ScreenViewBuilder()
                        .build()
        );
    }

    public void trackEvent(String category, String action) {
        analyticsTracker.send(
                new HitBuilders.EventBuilder()
                        .setCategory(category)
                        .setAction(action)
                        .build()
        );
    }
}
The code inside CatViewerActivity now turns into the following:
@Inject AnalyticsTrackerHelper analyticsTrackerHelper;

@Override
protected void onCreate(@Nullable Bundle savedInstanceState) {
    super.onCreate(savedInstanceState);
    // other code here

    analyticsTrackerHelper.trackScreenView(AnalyticsTags.SCREEN_CAT_VIEWER_ACTIVITY);
}

// other methods here

private void initShareActionProvider(Menu menu) {
    actionProvider.setOnShareTargetSelectedListener((source, intent) -> {
        analyticsTrackerHelper.trackEvent(AnalyticsTags.CATEGORY_ACTION, AnalyticsTags.ACTION_SHARE);
        return true;
    });
}
This definitely looks better, but we’re still adding working code to our existing
CatViewerActivity class and modifying its behavior. So can we do better? Let’s try to
tinker with some AspectJ black magic and see whether it can help us solve our problem.
AspectJ
AspectJ is a programming language that implements AOP concepts and is fully compatible with Java. AspectJ code can be compiled alongside the Java code, so there’s virtually no performance penalty related to AspectJ. Before we go ahead and write some AspectJ code, let’s introduce some important AOP concepts:
- Join point. The way AspectJ (and AOP) essentially works is by basically injecting pieces of code inside the existing code. A join point describes a place in code where the injection can happen. Simplest example of a join point can be a method call: for example, we can inject code before an existing method, after it, or around the method execution.
- Pointcut. A pointcut is an expression that allows us to pick out certain join points across
the application code based on different parameters. Let’s say we’re interested in all methods that
are annotated with the
TrackScreenViewannotation and have an argument with typeString: pointcut syntax allows us to define this condition, which we’ll see later in the examples. - Advice. An advice is the actual piece of code that we’re willing to inject along with a pointcut that we’ve specified earlier. This pair allows us to clearly describe our intent: pointcut specifies where we want the code injection to happen, and advice specifies what we want to inject.
- Aspect. Finally, aspect is analogous to a Java class. It will typically encapsulate a collection of pointcuts and advices.
Although this terminology might seem a bit vague at first, it will make perfect sense when we dive into the examples. If you’d like to learn more about these concepts, there’s a very good AspectJ Programming Guide, which has both theoretical and practical material. Now let’s integrate AspectJ into our app and write a couple of aspects to illustrate the concepts defined above.
Integrating AspectJ into an Android app
Integration is pretty simple thanks to a wonderful Gradle Android AspectJ Plugin, which you just need to import - and it will do the rest. Add the following line to the top-level Gradle build file:
buildscript {
    ...
    dependencies {
        ...
        classpath 'com.uphyca.gradle:gradle-android-aspectj-plugin:0.9.14'
    }
}
And the following line in the application module’s Gradle build file:
apply plugin: 'com.uphyca.android-aspectj'
The plugin should add tasks for compiling AspectJ code, which are automatically integrated into the build process. With the setup done, let’s dive straight into the code.
Writing AspectJ aspects
IntelliJ IDEA Ultimate Edition offers full AspectJ support, but since Android Studio is based on the Community Edition, coding AspectJ is not that great. Android Studio does some basic code completion and highlighting in aspect files (which are files with *.aj extension), but it won’t warn you if the syntax is not correct. Anyway, let’s start by defining an aspect in the file we’ve created:
aspect TrackScreenView {
This looks pretty much like a standard Java class declaration. Now, let’s do something more interesting - define a pointcut:
pointcut trackScreenView(AnalyticsTrackerHelper analyticsTrackerHelper, String screenName):
    execution(@me.egorand.cats.analytics.annotations.TrackScreenView * *(..)) &&
    args(analyticsTrackerHelper, screenName);
We start with the pointcut keyword and call our pointcut trackScreenView. Next we specify the
parameters which the advice will need to execute its code. The expression inside the pointcut
consists of two parts combined with the && operator. First part that starts with the execution
keyword states that we’re interested in any method annotated with
me.egorand.cats.analytics.annotations.TrackScreenView annotation. The * *(..) part is actually a
sequence of wildcards that will match any method in the application. Second part of the expression,
starting with the args keyword, states that we want to match methods with two arguments,
analyticsTrackerHelper and screenName, as mentioned in the pointcut signature. Now let’s add an
advice that will act upon this pointcut:
after(AnalyticsTrackerHelper analyticsTrackerHelper, String screenName):
    trackScreenView(analyticsTrackerHelper, screenName) {
        analyticsTrackerHelper.trackScreenView(screenName);
    }
We’ll choose after to specify where exactly we want the injected code to end up, namely, after the
method matched by the pointcut is executed. Next, we specify the pointcut, and, inside the
curly braces, write the actual code that we want to be injected. And that’s it! Now let’s create a
similar aspect called TrackEventAspect:
aspect TrackEvent {

    pointcut trackEvent(AnalyticsTrackerHelper analyticsTrackerHelper, String category, String action):
        execution(@me.egorand.cats.analytics.annotations.TrackEvent * *(..)) &&
        args(analyticsTrackerHelper, category, action);

    after(AnalyticsTrackerHelper analyticsTrackerHelper, String category, String action):
        trackEvent(analyticsTrackerHelper, category, action) {
            analyticsTrackerHelper.trackEvent(category, action);
        }
}
We’ll now define a couple of custom annotations that we’ll use to identify the methods that we want the pointcuts to match:
@Retention(RetentionPolicy.RUNTIME)
@Target(ElementType.METHOD)
public @interface TrackScreenView {
}
@Retention(RetentionPolicy.RUNTIME)
@Target(ElementType.METHOD)
public @interface TrackEvent {
}
Now let’s see how the CatViewerActivity code changes to work with the AspectJ code we’ve created:
@Inject AnalyticsTrackerHelper analyticsTrackerHelper;

@Override
protected void onCreate(@Nullable Bundle savedInstanceState) {
    super.onCreate(savedInstanceState);
    // other code here

    trackScreenView(analyticsTrackerHelper, AnalyticsTags.SCREEN_CAT_VIEWER_ACTIVITY);
}

@TrackScreenView
private void trackScreenView(AnalyticsTrackerHelper analyticsTrackerHelper, String screenName) {
    // do nothing, handled by AspectJ
}

// other methods here

private void initShareActionProvider(Menu menu) {
    actionProvider.setOnShareTargetSelectedListener((source, intent) -> {
        trackSharingAction(analyticsTrackerHelper, AnalyticsTags.CATEGORY_ACTION, AnalyticsTags.ACTION_SHARE);
        return true;
    });
}

@TrackEvent
private void trackSharingAction(AnalyticsTrackerHelper analyticsTrackerHelper, String category, String action) {
    // do nothing, handled by AspectJ
}
Notice the methods which will be matched by the pointcuts we defined earlier. The AspectJ compiler will weave the code we provided inside the aspects in between the Java bytecode, which will result in code being called at runtime.
But did we achieve the result we expected? Looks like we still had to modify the existing
CatViewerActivity class to introduce the new behavior. However, the code that we had to
add consists of stub methods, which themselves don’t contain any logic, therefore, the behavior of
the class doesn’t change. If we had had unit tests for CatViewerActivity, we wouldn’t have to
update them. We’d be fine with just adding functional tests to verify that the tracking indeed takes
place. Additionally, this solution makes it easy for us to pass arguments into the aspect, which is
usually required for analytics tracking. You probably won’t need any arguments if you’re
implementing AspectJ-based logging, in this case it’s possible to go just with custom annotations
around existing methods.
Conclusion
In this article we’ve looked at AspectJ - an AOP language, which works pretty well with Java, and, as we’ve seen, with Android as well. We’ve picked analytics tracking as an example of a secondary functionality, scattered across the application code, which is a good use case for AspectJ, and refactored our code to make use of the aspects. Although AspectJ introduces a new programming paradigm and comes with a fancy glossary, it can be a powerful tool for a certain range of use cases, therefore, it definitely deserves attention from Android developers.
Cheers!